Going Deeper: How to conduct interviews
By tom@longhaulfilms.com in Going Deeper
This post is part of an ongoing series called Going Deeper where we look at branded content production through the lens of the world’s most important question: why.
On many branded content shoots, the production phase will be split up into two main parts: interviews and b-roll.
Let’s take a deep dive into what conducting interviews looks like.
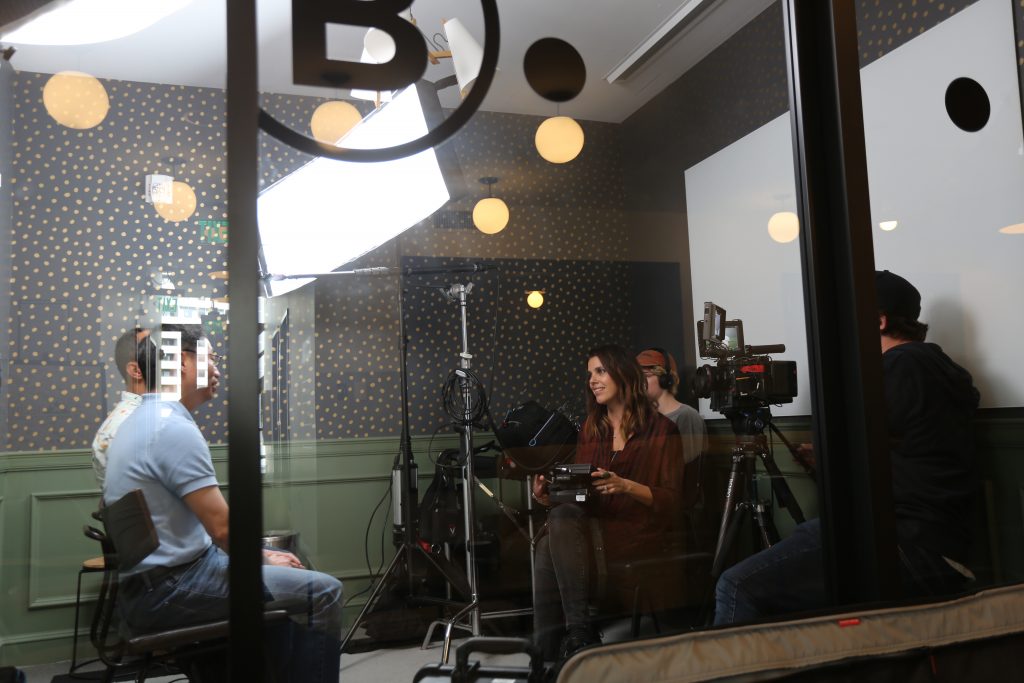
You’ll want to allow time to set up for each interview, which can vary depending on the production company’s crew and the realities of the interview location. A good rule of thumb is to allow a minimum of one hour per location, knowing it will sometimes move faster and sometimes require much more time.
If there’s loads of time in the schedule, it makes sense to switch up the location for each and every interview, so they all look different. If time is tighter, but you still want some variation in the way the interviews look, it’s sometimes possible to move things around within the same location to get a slightly different backdrop.
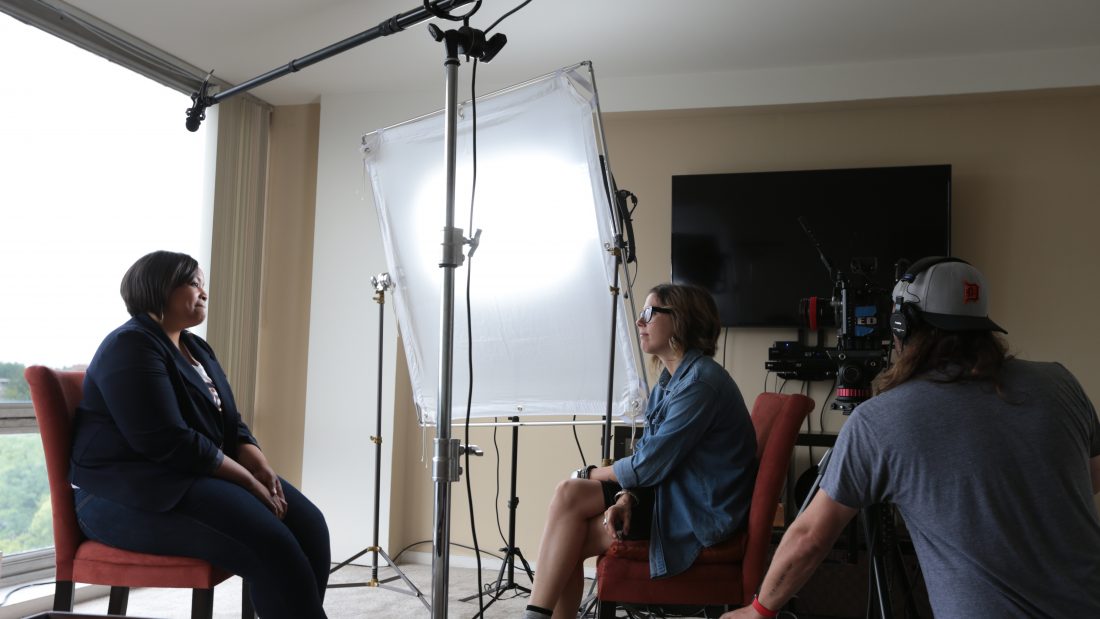
Often the DP will set up two cameras, one with a wider lens (aka a lens with a shorter focal length) and one with a closer lens (aka a longer focal length), so that in the edit, you’re able to cut between the two angles. This is useful if the editor wants to stitch together sections from different parts of the interview – the cut between the angles disguises the time hop.
The Director and DP will together decide how wide and how close each camera is framed, as well as how far each camera is away from the Director, who will be acting as interviewer. The closer a camera is to the interviewer, the more it will feel like the interview subject is addressing the audience. This can be great if the subject matter is subjective or emotional. The further away, the more gravitas and objectivity the interviewee will seem to have.
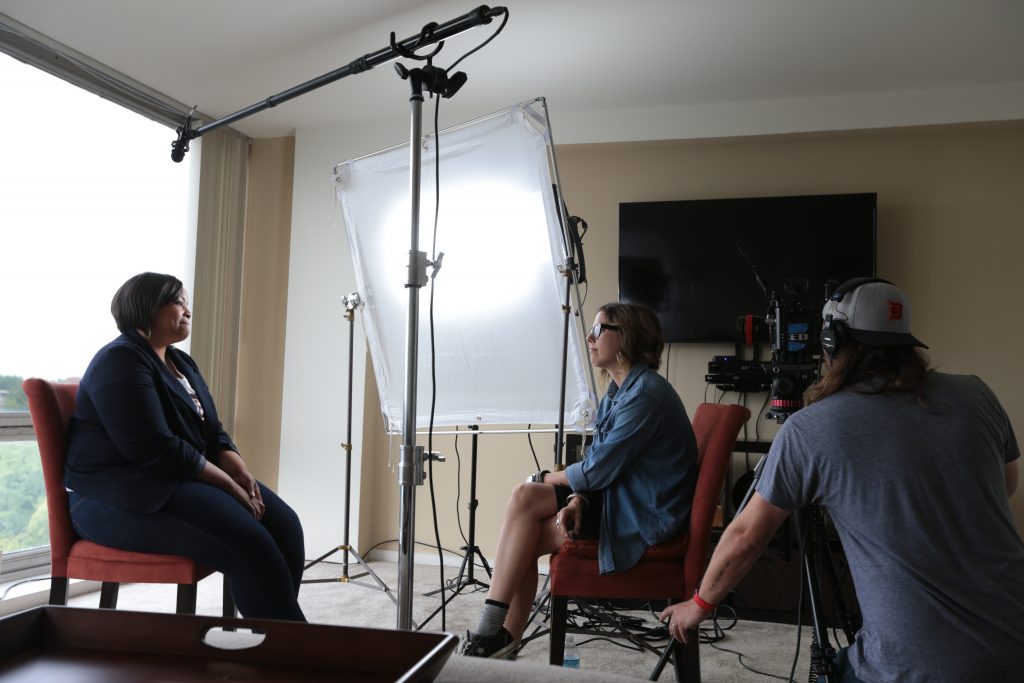
Once all the lighting, camera and sound equipment is set up, the Producer will bring the interview subject in.
The Audio Mixer will attach a wireless lavalier mic to the interviewee. It’s common practice these days to hide the mic in their clothing so the viewer doesn’t see it on camera. With last checks from the make-up artist, filming is ready to begin.
The interview should, as far as possible, feel like an easy, relaxed conversation between the interviewer and subject. This isn’t live, so interviewees can stop if they don’t like how an answer is going, use as many takes as they need and make sure they say what they want to.
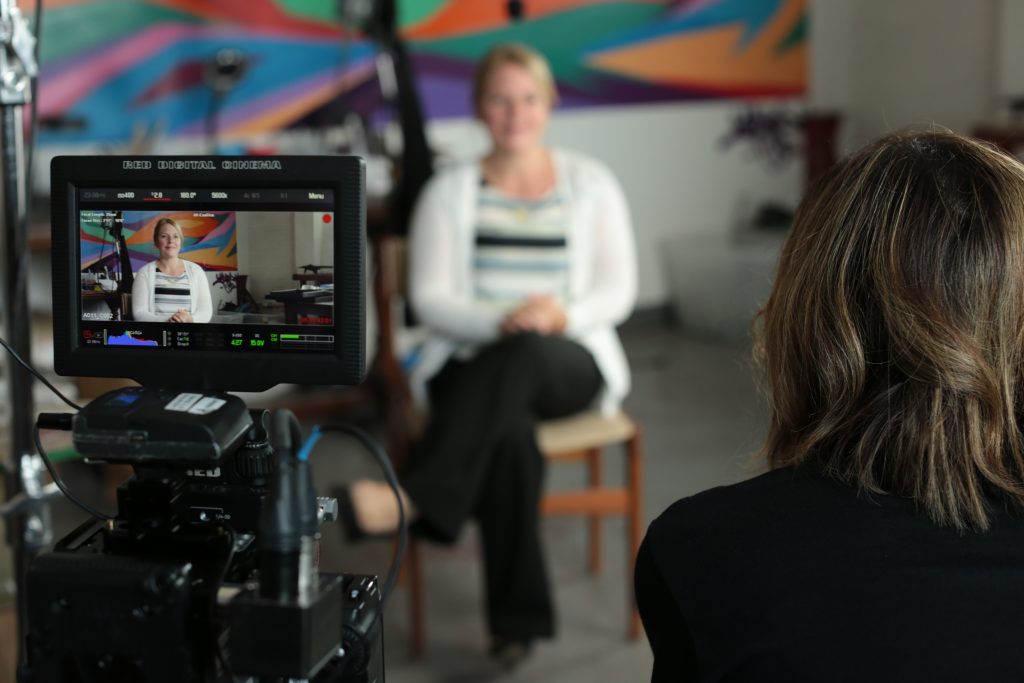
However, since the interviewer’s questions won’t be in the edit, which is usually the case, it’s important that subjects answer in complete sentences that make sense in isolation. So, for example, if the question is “How does it feel to know you’ve helped people to find a great job?” and the interviewee answers just with “really good” then that answer is difficult to use in the final video. Much better if they can remember to repeat the question back in the answer: “If feels really good to know that we’ve helped people find great jobs in our factory.”
The last thing that will happen during the interview is that the Audio Mixer will capture something called room tone. This is the sound of silence in the room, with no-one talking. If there’s any hum from HVAC equipment or the low drone of a nearby highway, the editor will – much later on – be able to invert that audio in order to remove it from the interview sound. It’s important not to talk or move when the audio mixer is capturing room tone.
Next week we’re moving on to b-roll – the footage that will bring everything to life.